Hello there… this is my first tutorial in this blog which will explain about how to install VMware Workstation 9.0. As for you who don’t know what VMware is I will briefly explain about what it is. VMware (is short for Virtual Machine) is a program wich allow us to have another independent operating system inside our primary host operating system. As you can see, this virtual machine can help you with various task, for example testing and debuging,hacking, penetration testing etc inside our isolated operating system.
Things that you will need for VMware:
- Processor
- 1.3GHz or faster core speed
- 64-bit x86 Intel Core™ Solo Processor or equivalent, AMD Athlon™ 64 FX Dual Core Processor or equivalent
- Memory
2GB RAM minimum/ 4GB RAM recommended
- Harddisk
- 1.2 GB of available disk space for the application
- Minimal free space of 20GB for each Virtual Machine
- Host Operating System
Any kind of operating system which has been globally recognized i.e Windows, Mac, Ubuntu etc.
Now… after you have met those requirement we begin installing the application itself.
*you can get a free trial license for 30 days by registering in the vmware.com website
Installation Guide
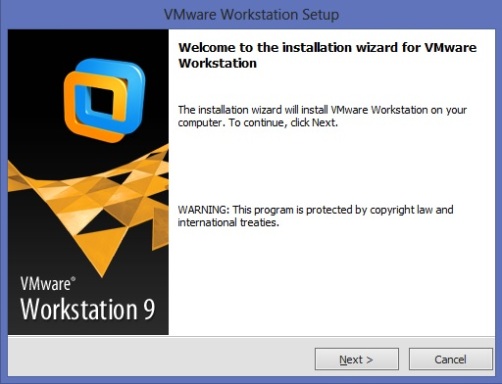
Step 1. Open VMware Workstation 9 Setup.
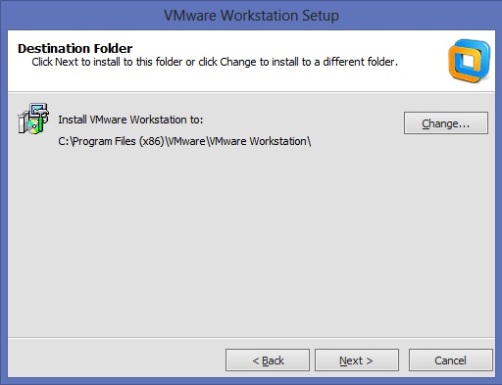
Step 2. Choose the installation folder of the VMware workstation 9 to your preferable location.
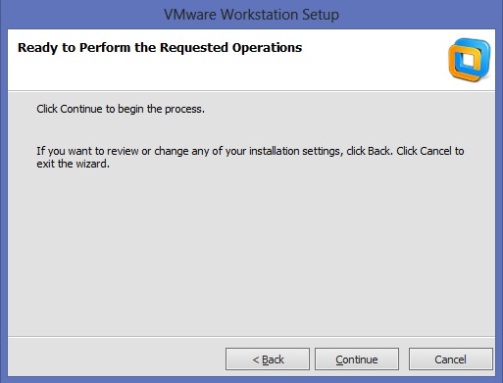
Step 3. Make sure all of your choices are the right one and then begin the installation.
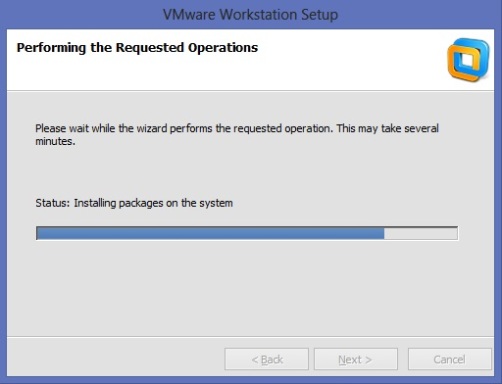
Step 4. Wait for the program to finish installing VMware Workstation 9
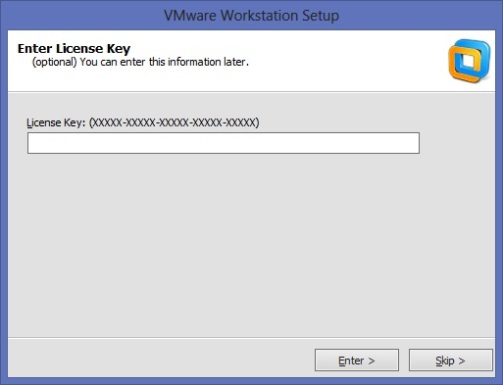
Step 5. Use the Key registration product which you get from the vmware.com or if you haven’t got it yet you can enter it at the option menu later.
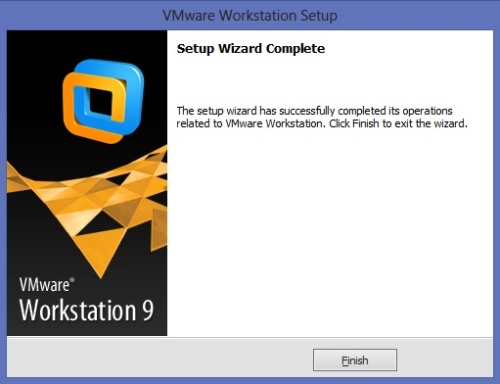
Step 6. That’s it your VMware is now ready to go.
